View Our Work
Wondering what goes into each of the services we offer? View the before and after photos below.
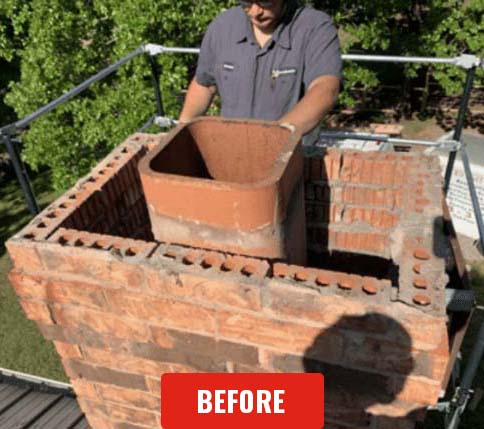
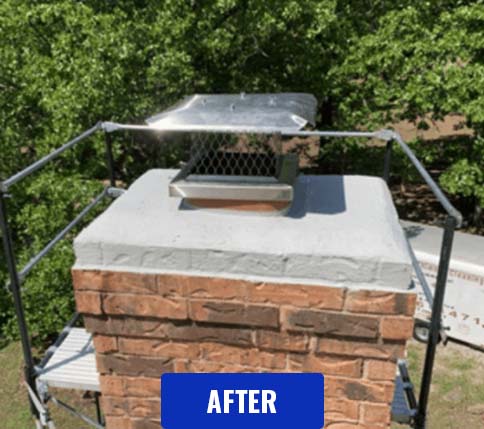
Chimney Crown Rebuild
When performing a crown rebuild, we first start by removing the old, worn-down crown completely. Then we apply a new cement board foundation to support the new crown. After that, we pour and shape a new cement crown, which is then covered in a waterproof sealant once it has dried.
We top it off with a brand new stainless steel chimney cap.
Chimney Relining
When a chimney is in need of a new liner, we start by removing the old clay flue tiles. Then, we insert a stainless steel liner down the chimney. Then we fill the space between the walls of the chimney and the liner with a heat-insulating product. The liner length is fitted to the top of the chimney and excess liner is removed.
In this project, we also installed a top-sealing damper and a new stainless steel chimney cap.
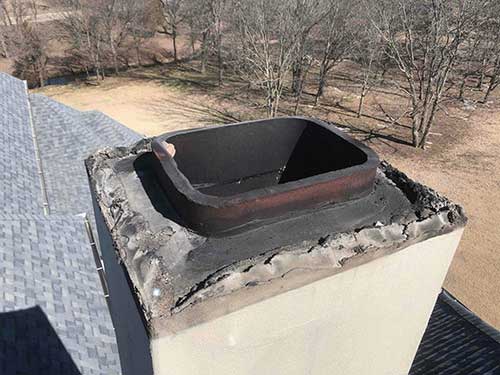
Chimney Reline – Before
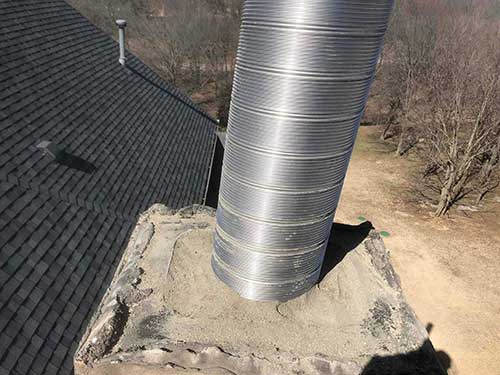
Chimney Reline – During
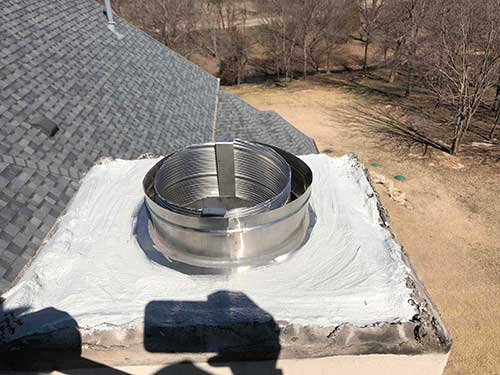
Chimney Reline – After
Chimney Reline With HeatShield®
Sometimes a chimney flue only needs a little touch-up, rather than a brand new liner. When that happens, we’ll seal the cracks and joints with an insulated liner resurfacing solution.
First, a foam plug is placed at the bottom of your chimney and attached to a wench at the top.
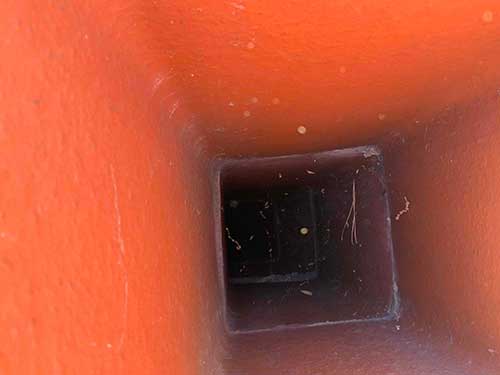
Resurface Before
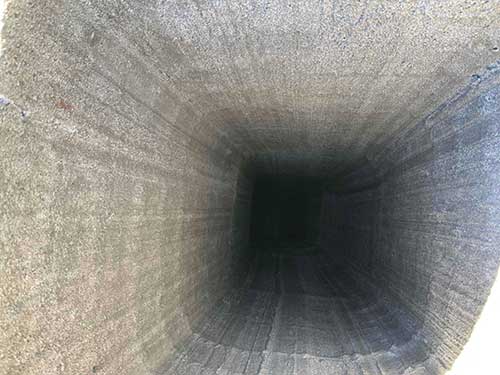
Resurface After
The resurfacing solution is applied to the inner walls of the chimney flue and, as the plug is pulled up the chimney, gaps and cracks are filled. In this project, we also parged the smoke shelf, an area just above the firebox. This gives the smoke a smooth and easy path up the flue.
Gas Log Installation
Gas logs can be installed in existing fireplaces for those who want a more energy-efficient heating option.
First, we install a new burner and connect it to your gas line. Next, accessories are installed or placed around the burner. A grate is then placed on top of the burner and gas logs are pinned in place on top of the grate.
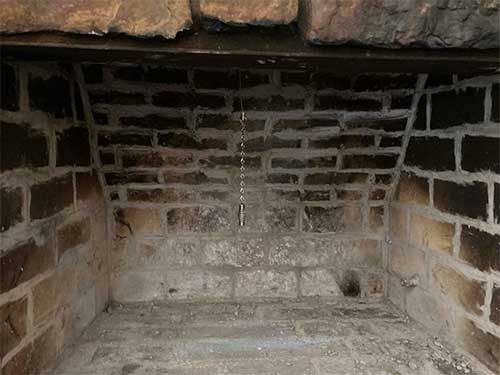
No Gas Logs – Before
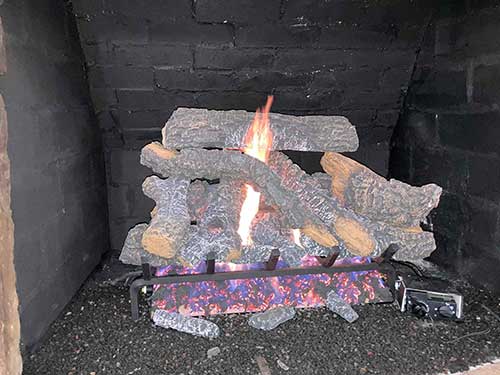
Gas Logs – After
In this project, we spread ash-covered coal underneath the grate to add a realistic touch.
Gas Log Cleaning & Service
Gas logs may be “low maintenance” but that doesn’t mean they don’t need any maintenance!
Gas logs require cleanings and service just like any other heating unit. In this example, we found a set of logs that were oriented incorrectly when installed and were also in bad need of a cleaning.
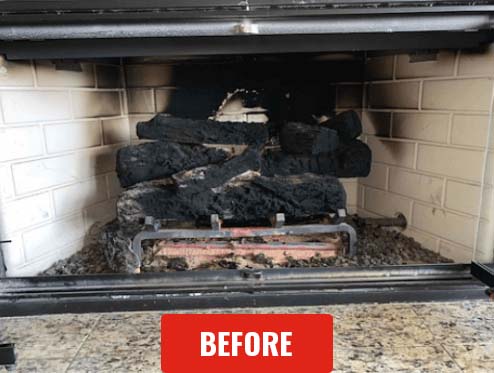
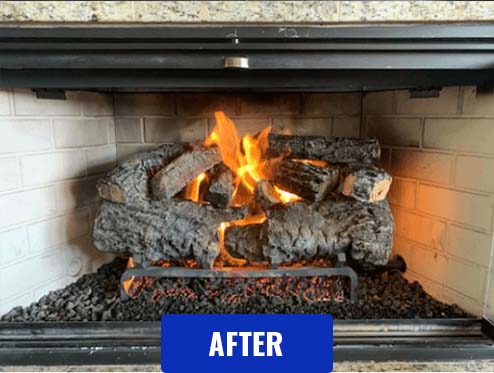
We started by removing the logs from the gas element and cleaning all the components. We cleaned the back wall of the firebox and cleared out the old sand and gravel. We placed down new gravel, cleaned the logs, and reoriented them correctly.
Brick Chimney Tear Down & Rebuild
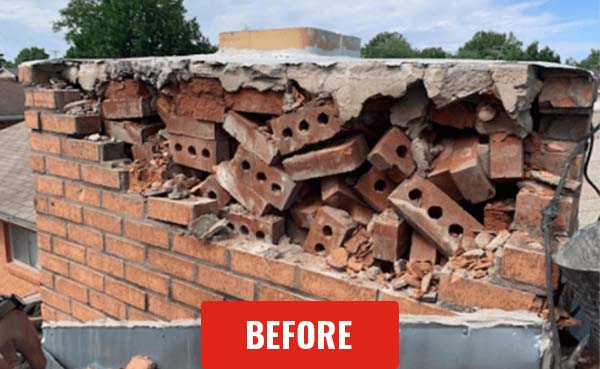
Sometimes, chimneys are too damaged and are past the point of repair. In this case, we would do a full rebuild.
First, we remove all of the damaged brickwork and mortar from the top of your chimney.
Then we start the rebuild process, which includes creating a new chimney crown and making sure the bricks and mortar are adhering correctly, leaving you with a safe, solid, and properly working chimney structure. In this project, we tore down the old chimney, which had several bricks missing or severely chipped.
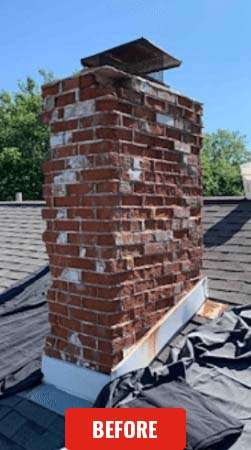
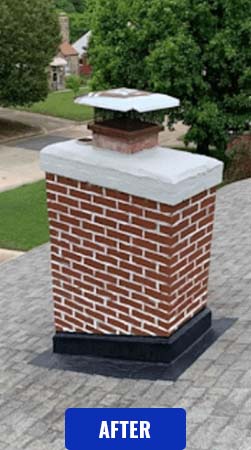
Then we built it back up, adding flashing sealant around the base of the chimney to keep the rain out. Lastly, we added a chimney crown and covered it in waterproofing sealant to protect the system from water damage.
Brick Chimney Tear Down & Rebuild
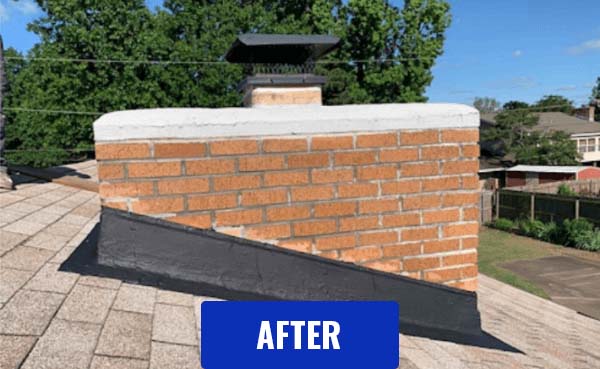
This is another chimney rebuild where the chimney had too much damage to save. We tore down the brick, rebuilt the chimney, and added flashing and crown waterproofing sealant. In this project, we also fit a new chimney cap to the top of the chimney to ensure complete protection.
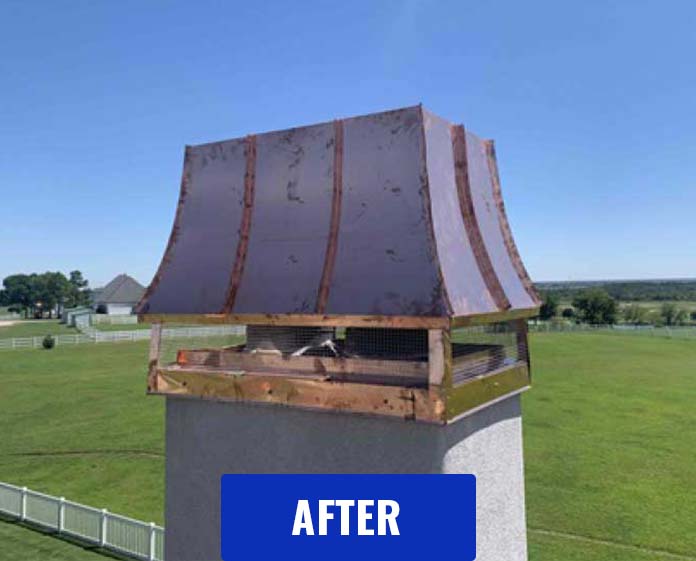
Custom Chimney Cap Installation
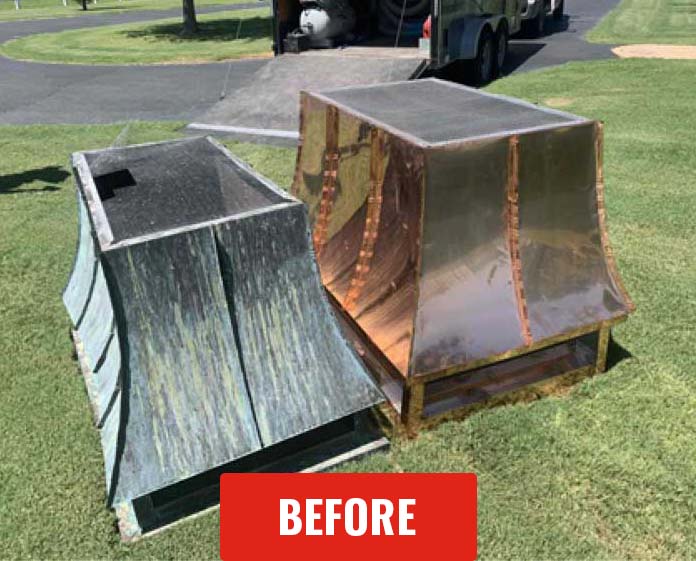
Sometimes caps become rusted out or damaged, and we’ve also come across ones that were wrongly sized or poorly installed. A well-fitted cap is essential for protecting your home and chimney from water damage, animals, and debris, but if even minor issues are present, you’ll be looking at a lot of damage over time.
Caps are affordable, fairly quick to set up, and – when professionally installed – can offer years of lasting protection. Ask us about investing in a new one today.
You can learn a lot about our industry and about us when you check out our video resources here.
